
How To Prepare Your Lawn for Sodding
There are several key steps to prepare your lawn for sodding. The experts at Kerr & Kerr Landscaping hope that the following tips will help you achieve success with your sod so your lawn will look incredible.
Step 1: Prepare The Area
Remove any existing grass or weeds:
- You can do this by hand or using a machine.
- Break up the top 4-6 inches of soil using a rototiller.
- Remove any debris, such as clumps of clay or rocks.
Step 2: Add Topsoil
Spread and level topsoil to a minimum of 3-3.5 inches compacted depth.
- Roll the topsoil using a light- to medium-weight roller to compact the topsoil. This will reveal any low spots or problem areas.
- Level and roll again to achieve a level surface.
Expert Tip: Your finished topsoil grade should be 1 inch below driveways, curbs, and patios to allow for ease of mowing.
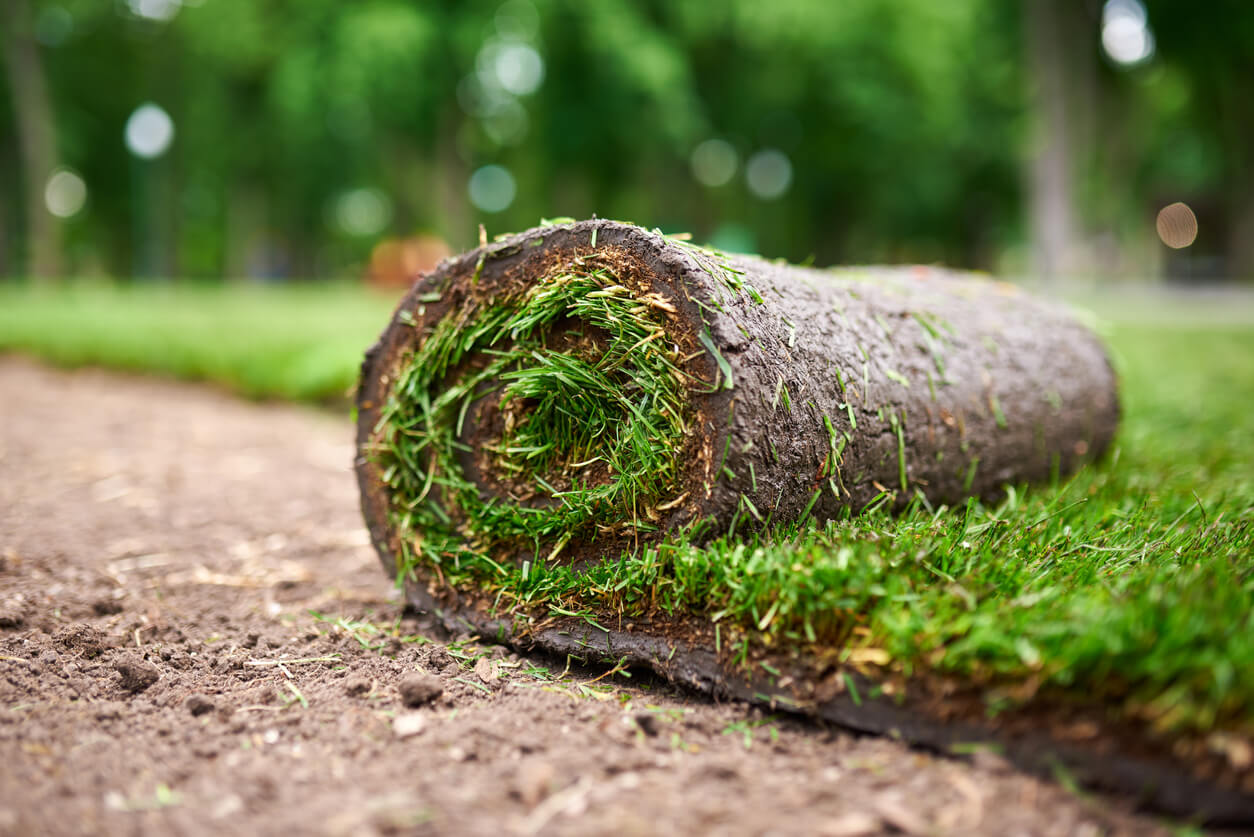
Step 3. Install Your New Sod
Unroll the sod along a straight edge or by using a string line.
- Stagger the seams of the sod in a brickwork pattern. The seams will disappear within a few weeks once the sod is rooted and established.
- Sod pieces should fit together snugly, with the edges fitting together, but not overlapped, stretched, or with any edges pushed upwards. Pieces should be flat on the ground with no buckled, rippled, or overlapped pieces.
- Use a sharp knife to cut and trim as pieces as needed.
Expert Tip: Avoid walking or kneeling repeatedly on the sod during installing and the watering process. If you are installing sod in rainy or very wet conditions, do not use the sod to walk on if the topsoil is wet. Walking on the new sod will cause pockets and indentations, resulting in brown patches and a bumpy lawn. Instead, use wide planks or partial pieces of plywood to disperse your weight as you work in wet conditions. Lift and reset planks or plywood as you work.
Step 4: Water Your New Sod
Begin watering your sod as soon as possible after installation.
- Water within at least 30 minutes of completing an area.
- Soak the new sod thoroughly, right through the grass to the root side and into the topsoil below for a depth of at least 2 inches.
- Roll back a piece of sod to see if the soil under it is wet.
Expert Tip: Sod that has not been watered enough will suffer damage and begin to shrink from lack of water. Avoid foot and equipment traffic on your new lawn for about 14 days.
Step 5: Mow Your New Sod
When the grass reaches 3 inches high, it is time to mow it down to 2 inches.
- Keep in mind that your new lawn is still fragile, so it is best to use a walk-behind mower for the first trim and be sure to bag the clippings.
- You will want your grass to grow higher in the summer months as this will encourage a deep root system and help to shade out weeds.
Expert Tip: Allow your new lawn about 3-4 weeks of growth, then feed it again with a starter fertilizer to boost up nutrients that washed away during the heavy watering schedule.
We hope that these steps will help your new sod installation go smoothly. If you have any questions or would like some assistance with your landscaping needs, contact the team at Kerr & Kerr Landscaping. We’re here to help.


